
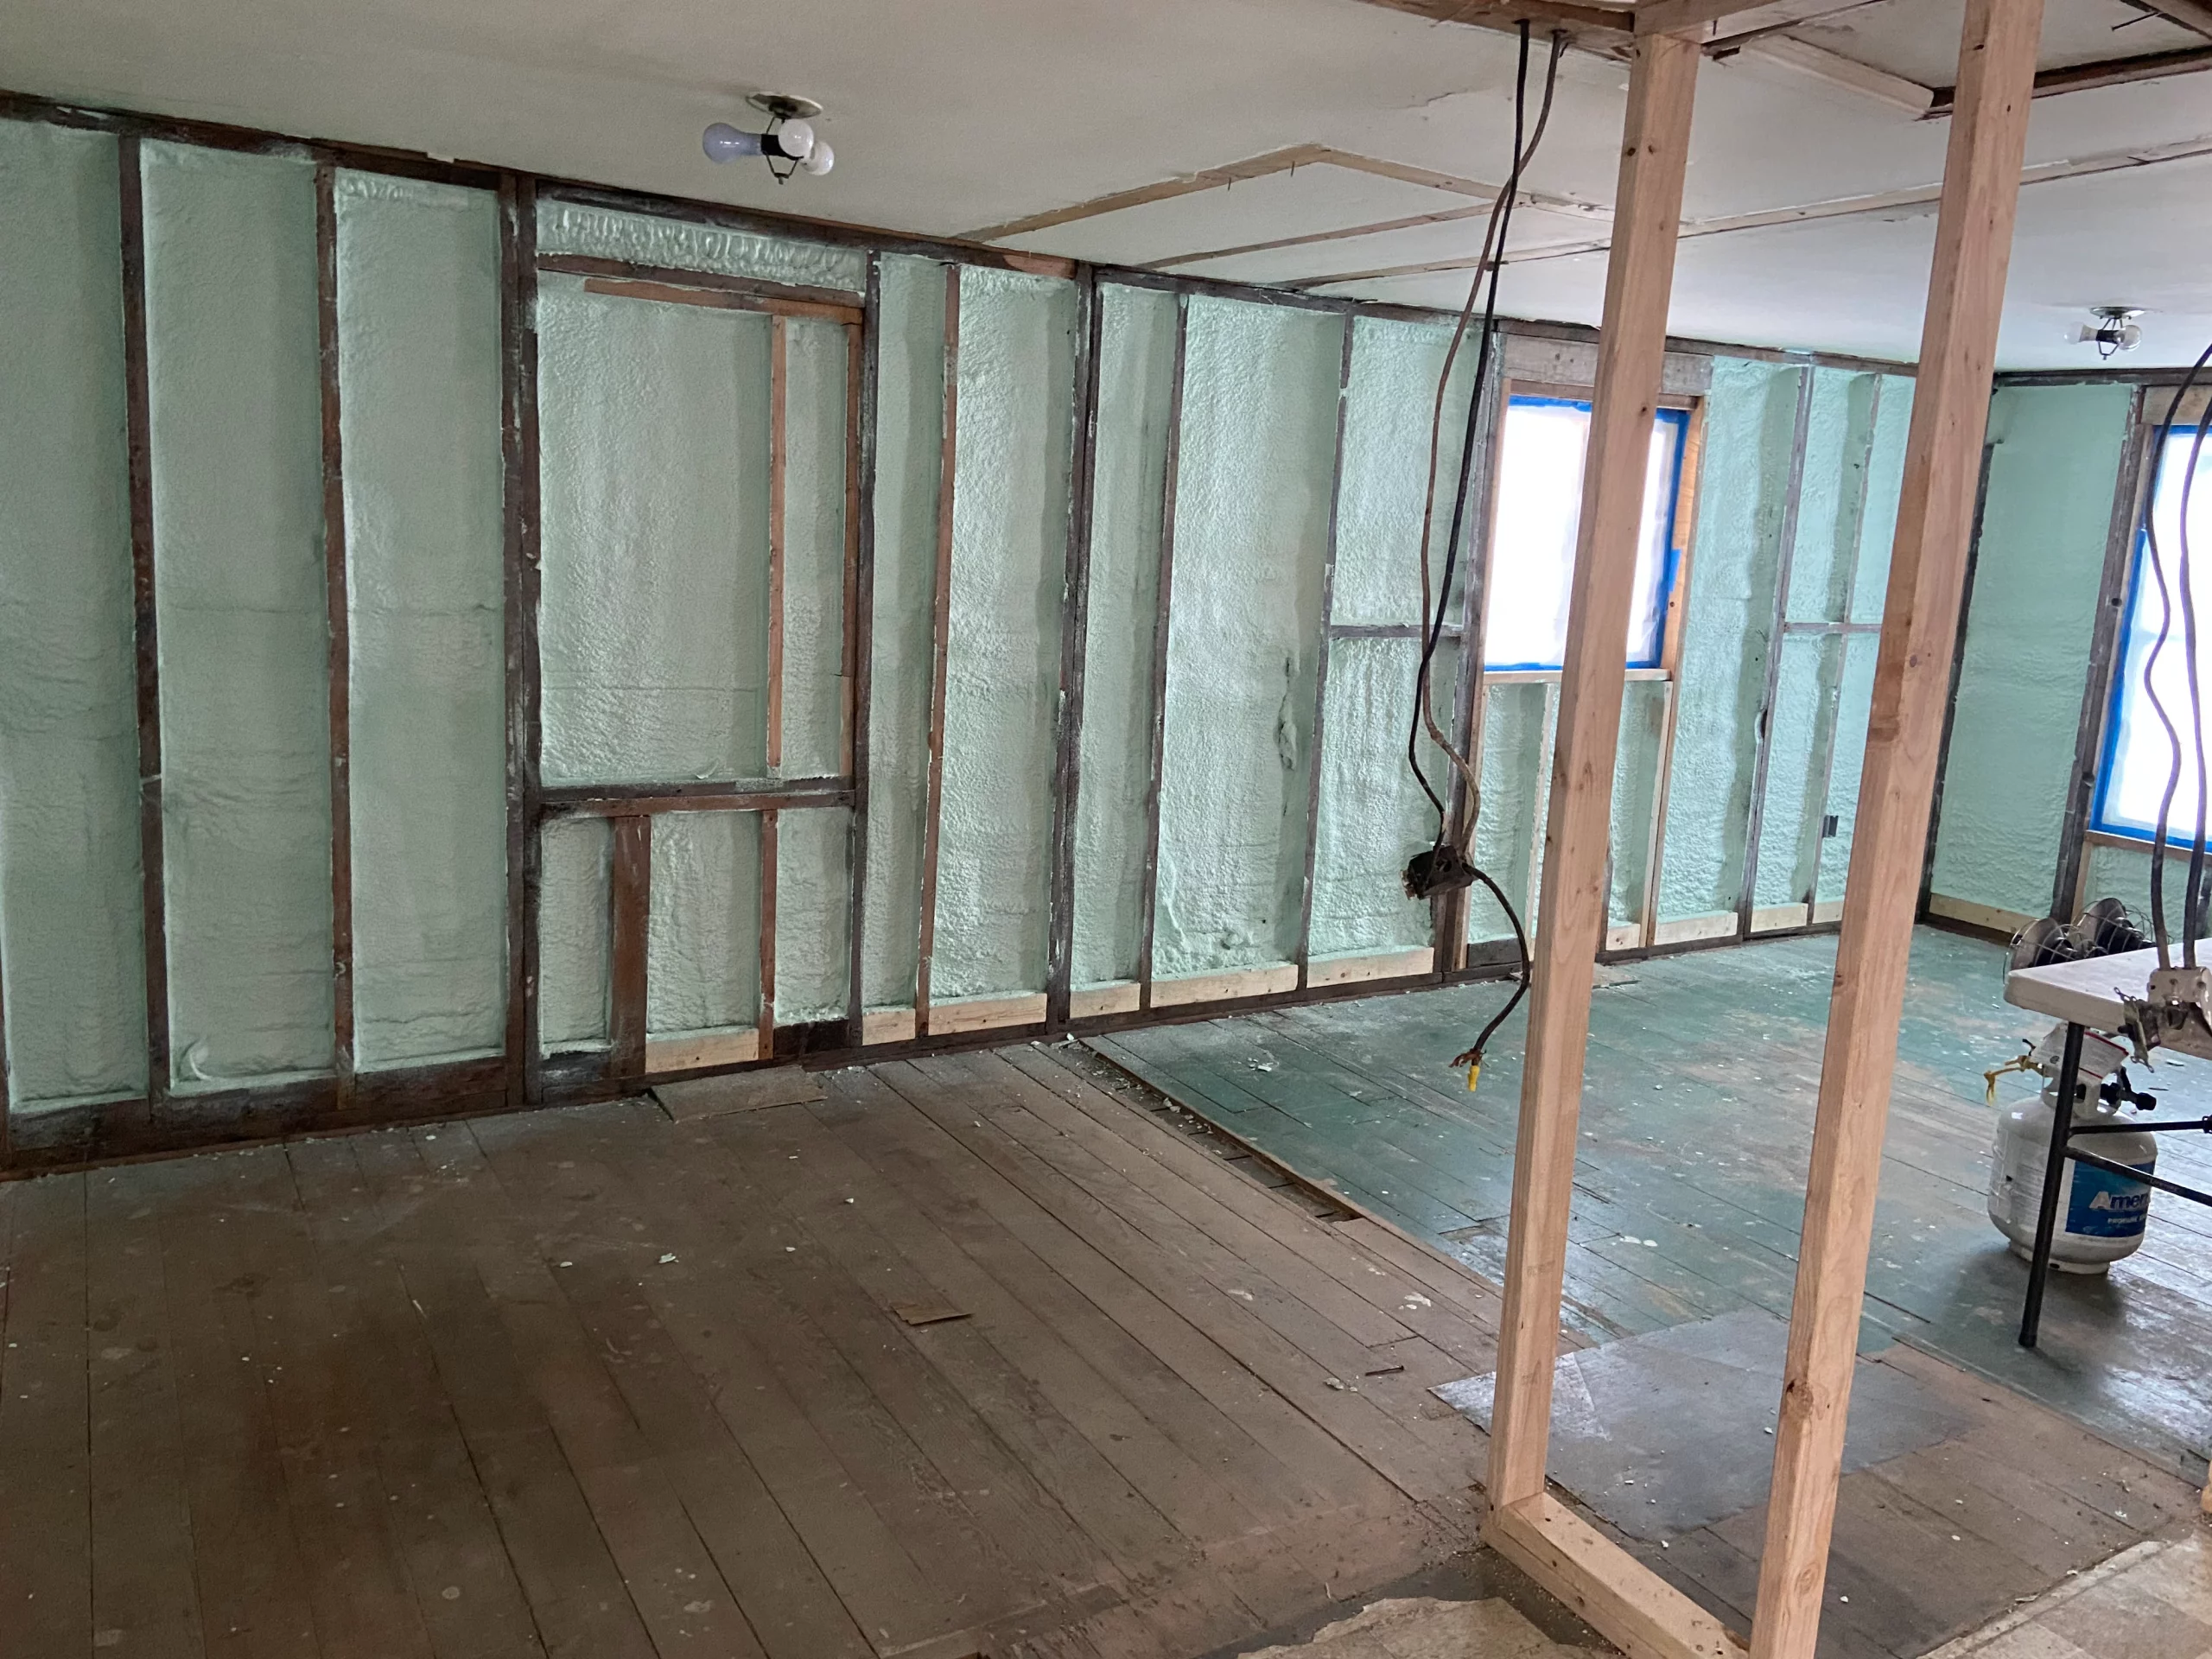
Walk into almost any home built before the 1990s and you will find the same story: high heating bills in winter, rooms that never feel quite warm enough, and an attic that looks like someone scattered a thin blanket of fiberglass and called it a day. These are the homes we work in every day here in Alaska, where the stakes of poor insulation are not just higher bills but real discomfort during long, brutal winters. But even in milder climates, the wrong insulation or insufficient insulation quietly drains money and comfort from your home year-round.
The good news is that choosing the right insulation does not require an engineering degree. It does require a clear understanding of your climate, your home’s current condition, and the materials available to you. This guide walks you through every step of that process, from figuring out your climate zone to comparing insulation materials side by side to knowing when air sealing matters just as much as the insulation itself. We built this resource from years of hands-on experience installing insulation in homes and commercial buildings across the Anchorage and Mat-Su Valley region, and from the standards and research published by the U.S. Department of Energy and ENERGY STAR.
Heat moves. In winter, it flows from your warm living spaces toward the cold outdoors. In summer, it pushes from the hot exterior into your cool interior. Your heating and cooling systems work constantly to replace or remove that heat, and heating and cooling account for roughly 50 to 70% of the energy used in the average American home, according to the Department of Energy’s Insulation Fact Sheet.
Insulation slows that heat flow. It does not stop it entirely, but it creates enough resistance that your HVAC system does not have to work nearly as hard. This is especially important for new construction insulation, where selecting the right insulation from the start improves long-term energy efficiency and indoor comfort. Think of it like wearing a jacket in cold weather. A thin windbreaker helps a little. A thick parka helps a lot. Insulation works the same way, and the measure of how well it resists heat flow is called R-value.
R-value is a measure of thermal resistance. The higher the number, the better the insulation resists heat transfer. According to ENERGY STAR, R-value depends on the type of material, its thickness, and its density. When you layer insulation, the R-values add together. So an R-13 batt topped with an R-38 layer gives you a combined R-51.
But R-value alone does not tell the whole story. Installation quality matters enormously. Compressed insulation loses effectiveness. Gaps and voids let air bypass the material entirely. The DOE’s fact sheet emphasizes that improper installation can reduce your energy savings significantly, sometimes by more than half.
Key Takeaways: Insulation Fundamentals
Insulation is one part of your building envelope, which includes your walls, roof, floor, foundation, windows, and doors. Heat can escape through any of these components, especially at the gaps where different parts of the building meet, such as where walls connect to the foundation or where ducts pass through ceilings. The DOE notes that creating a complete thermal envelope through a combination of insulation and air sealing is the best way to prevent unwanted heat transfer.
Insulation is not one-size-fits-all. What works in Florida would be dangerously inadequate in Minnesota or Alaska. The U.S. is divided into eight climate zones, ranging from Zone 1 (the hottest, like southern Florida) to Zone 8 (the coldest, like interior Alaska). Your climate zone determines the minimum R-values recommended for every part of your home.
The DOE provides a climate zone map based on the 2021 International Energy Conservation Code (IECC). You can also use the Building America Solution Center’s “Find My Climate Zone” tool online by entering your ZIP code. For most of Alaska, including the Anchorage and Mat-Su Valley areas, you are looking at Zone 7 or Zone 8, which demand some of the highest insulation levels in the country.
The following table shows the recommended R-values for retrofitting existing wood-framed buildings, based on data from ENERGY STAR and the 2021 IECC requirements published by the DOE.
| Climate Zone | Attic (Uninsulated) | Attic (With 3-4 Inches Existing) | Floor Over Unheated Space |
|---|---|---|---|
| Zone 1 | R-30 | R-25 | R-13 |
| Zone 2 | R-49 | R-38 | R-13 |
| Zone 3 | R-49 | R-38 | R-19 |
| Zone 4A, 4B | R-60 | R-49 | R-19 |
| Zone 4C, 5, 6 | R-60 | R-49 | R-30 |
| Zone 7, 8 | R-60 | R-49 | R-38 |
For wall insulation in existing homes, ENERGY STAR recommends R-13 cavity insulation plus R-5 to R-10 continuous insulative sheathing in Zones 4 through 8, and R-19 batts for basement or crawlspace walls in the coldest zones.
Expert Tip: If you live in a cold climate zone and are building new or doing a major renovation, aim for the higher end of the recommended range. The difference in material cost is modest, but the energy savings compound over decades.
Before choosing new insulation, you need to understand what you already have. Many homes have a patchwork of insulation, some areas adequate and others completely empty.
Start in the attic, since it is usually the easiest area to inspect and often the one that needs the most help. Look at the depth of the existing insulation. If you see fiberglass batts, measure their thickness. If you see loose-fill material (cellulose or fiberglass), measure the depth across several spots. The DOE’s fact sheet provides a reference table: fiberglass batts deliver roughly R-3.2 per inch, loose-fill fiberglass about R-2.5 per inch, and cellulose about R-3.5 per inch. So four inches of fiberglass batts gives you roughly R-13, which is far below the R-60 target for cold climate attics.
Walls are harder to assess. The DOE recommends turning off power to an exterior wall outlet, removing the cover plate, and shining a flashlight into the gap around the box. You may be able to see whether insulation fills the wall cavity. Check outlets on different floors and in different parts of the house, because wall insulation in one area does not guarantee it is everywhere.
Look at the underside of floors over unheated spaces like garages, basements, or crawlspaces. Measure the thickness of any insulation you find. For foam board or sprayed foam, multiply the thickness in inches by roughly 5 to estimate R-value.
Expert Tip: If your home was built before 1980 and you cannot see insulation in your walls, assume it is either missing or inadequate. Homes from this era commonly had no wall insulation at all, even in cold climates.
Not all areas of your home are equal when it comes to insulation priority. Heat rises, which means your attic is typically the single largest source of heat loss in a home. Addressing the attic first gives you the biggest return per dollar spent.
Key Takeaways: Where to Insulate First
This is where most homeowners feel overwhelmed, but the options become clear once you understand what each material does best. The Building Science Education site and the DOE both categorize insulation into several main types. Here is a straightforward breakdown.
This is the most familiar type. Batts and rolls are made from fiberglass, mineral wool, plastic fibers, or natural fibers like cotton. They come in standard widths designed to fit between wall studs, floor joists, and ceiling joists. According to ENERGY STAR, batts and rolls are best suited for unfinished walls, floors, and ceilings, and require only basic skill level for installation.
Pros: Affordable, widely available, straightforward to install in standard cavities. Cons: Can leave gaps around obstructions, does not seal air leaks, compression reduces effectiveness.
Loose-fill insulation consists of cellulose, fiberglass, or mineral wool fibers that are blown into place using pneumatic equipment. It is ideal for enclosed existing wall cavities, unfinished attic floors, and irregularly shaped areas where batts cannot reach.
Pros: Fills gaps and voids effectively, good for retrofits, covers irregular shapes. Cons: Requires professional equipment for installation, can settle over time (especially cellulose), may need baffles to keep material away from vents.
Spray foam comes in two main varieties: open-cell and closed-cell. It is applied by a professional using specialized equipment that meters, mixes, and sprays the foam into cavities. ENERGY STAR classifies spray foam as requiring advanced skill and a certified installer.
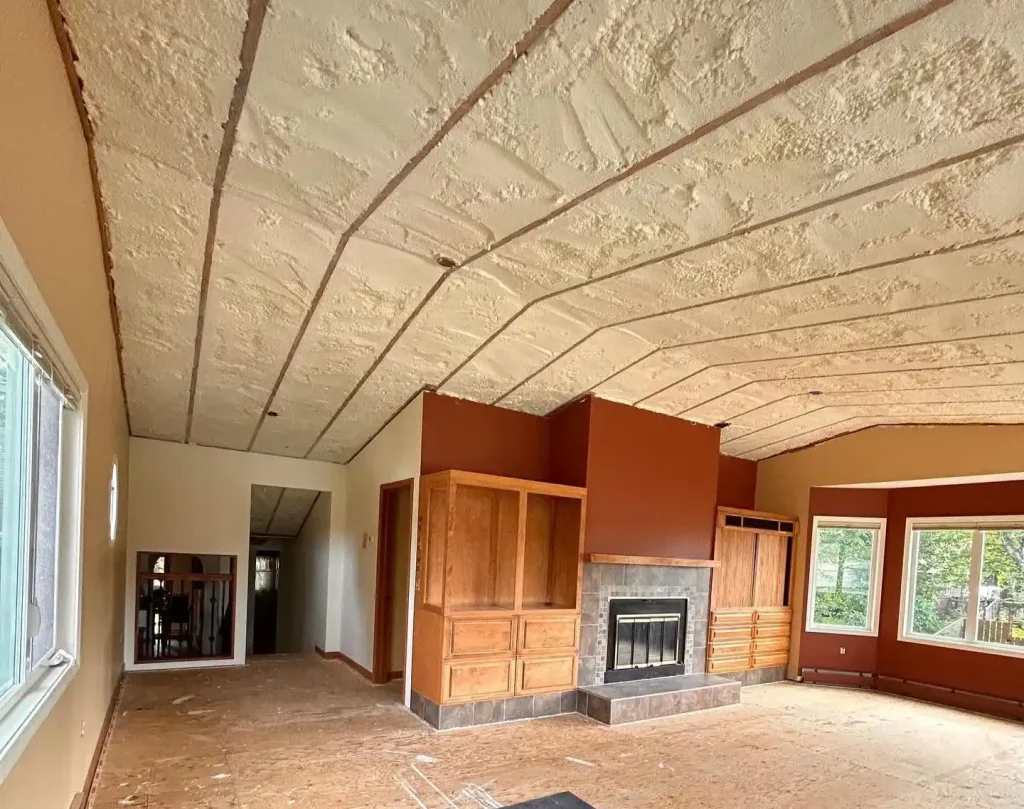
Closed-cell spray foam is denser, has a higher R-value per inch (approximately R-6 to R-7), and acts as both an insulator and an air barrier. It also adds structural rigidity and resists moisture. This is the material we reach for most often in cold climates because it delivers high R-value in limited space while sealing air leaks simultaneously.
Open-cell spray foam is lighter, less expensive per square foot, and has a lower R-value per inch (approximately R-3.5 to R-4). It allows moisture vapor to pass through, which can be beneficial in certain wall assemblies but is less effective as an air barrier.
Pros: Seals gaps and air leaks while insulating, high R-value per inch (closed cell), conforms to irregular shapes. Cons: More expensive than batts or blown-in, requires professional installation, off-gassing during application requires ventilation.
Rigid insulation boards are made from expanded polystyrene (EPS), extruded polystyrene (XPS), or polyisocyanurate (polyiso). They come in panels of various thicknesses and are used for foundations, basement walls, continuous exterior insulation, and unvented low-slope roofs.
Pros: High R-value per inch, provides continuous coverage with few thermal bridges, effective below grade. Cons: Must be covered with thermal barrier for fire code compliance, more expensive per square foot than batts.
Reflective systems use aluminum foil with various backings to reduce radiant heat transfer. They are most effective at reducing downward heat flow, making them popular in hot climates for attic applications. They are less relevant in heating-dominated cold climates.
These are not retrofits but rather building systems that incorporate insulation directly into the structure. SIPs sandwich foam between structural panels, and ICFs use foam forms that stay in place as permanent insulation for concrete walls. They eliminate thermal bridging through framing and significantly reduce air leaks.
Expert Tip: In cold climates, combining insulation types often yields the best results. For example, using closed-cell spray foam in the wall cavities of a new addition while adding continuous rigid foam on the exterior gives you both high cavity R-value and a thermal break at the framing.
| Insulation Type | R-Value Per Inch | Best Application | Air Sealing Ability | Installation Skill |
|---|---|---|---|---|
| Fiberglass batts | ~3.0-3.2 | Standard wall cavities, attic floors | None | Basic |
| Blown-in cellulose | ~3.5 | Attic floors, enclosed wall cavities | Minimal | Intermediate |
| Blown-in fiberglass | ~2.5 | Attic floors, enclosed wall cavities | Minimal | Intermediate |
| Open-cell spray foam | ~3.5-4.0 | Wall cavities, cathedral ceilings | Moderate | Advanced |
| Closed-cell spray foam | ~6.0-7.0 | Walls, crawlspaces, rim joists | Excellent | Advanced |
| Polyiso rigid board | ~5.6-6.5 | Continuous exterior, roof assemblies | None | Intermediate |
| XPS rigid board | ~5.0 | Below grade, foundation walls | None | Intermediate |
| EPS rigid board | ~3.8-4.2 | Exterior insulation, foundations | None | Intermediate |
| Mineral wool batts | ~3.0-3.3 | Walls, attics, fire-rated assemblies | None | Basic |
Knowing the types is one thing. Choosing the right one for each area of your home is where the real decisions happen.
For unfinished attics with open joists, blown-in cellulose or fiberglass is cost-effective and provides good coverage across the entire attic floor. For attics with irregular framing or many penetrations, spray foam applied to the attic floor seals gaps while insulating. In cathedralized attics (where insulation is applied to the underside of the roof deck rather than the attic floor), spray foam or rigid foam board is the standard choice because it must adhere to the sloped surface and seal against air movement.
For new construction or when walls are open during renovation, batts or spray foam are the main options. Spray foam fills around wires, pipes, and electrical boxes more completely than batts. For existing finished walls, dense-packed cellulose blown through small holes is the most practical retrofit method. When re-siding, adding continuous rigid foam board under the new siding is one of the most effective upgrades you can make, because it addresses thermal bridging through the studs.
If the crawlspace is vented, insulate the floor above it. If it is unvented (which is increasingly recommended, especially in cold climates), insulate the crawlspace walls instead. Spray foam and rigid foam board both work well for crawlspace walls, and spray foam has the added advantage of sealing the many penetrations where plumbing and electrical lines pass through the rim joist.
Basement wall insulation options include rigid foam board on the interior or exterior, or framed walls with batts or spray foam. The key concern here is moisture. Rigid foam with a thermal barrier like gypsum board is a reliable approach that also manages moisture movement.
Expert Tip: The crawlspace height matters more than most people realize. Low crawlspaces make installation significantly more difficult and time-consuming, which increases labor cost. If you are planning a new build, aim for at least three feet of crawlspace clearance to keep future insulation projects manageable.
This is the step that gets skipped most often, and it matters enormously. The DOE’s insulation fact sheet states bluntly that insulation reduces air movement only within the space it occupies. It will not stop air leaking through cracks between building parts. Air leaks around the sill plate, at window and door framing, through recessed lights, and around plumbing penetrations can account for as much of a home’s heat loss as inadequate insulation.
Air sealing and insulation work together. If you add R-60 of attic insulation but leave a 2-inch gap around the chimney chase, warm air will still pour into the attic carrying heat and moisture. According to the DOE, caulk and weatherstripping are simple, effective air-sealing techniques that often pay for themselves in one year or less.
Expert Tip: Always air seal before adding insulation, especially in the attic. Once you blow several inches of cellulose or fiberglass over the attic floor, any hidden air leaks become nearly impossible to find and fix. Seal first, then insulate.
Wet insulation does not work. This is a simple but frequently overlooked truth. The DOE’s fact sheet devotes an entire section to moisture control, noting that moisture condensing inside walls or attics can cause mold, structural damage, and insulation degradation.
A typical family adds about three gallons of water per day to indoor air just through breathing and perspiring. Cooking, showering, and laundry add more. Unvented gas heaters can add five to fifteen gallons per day. This warm, moist air moves through any gap in your building envelope, and when it hits a cold surface (like the inside of an exterior wall in winter), condensation occurs.
In vented attics, attic ventilation (soffit vents combined with ridge vents) allows moisture that escapes from the living space to be carried away. Never block these vents with insulation. Use baffles or rafter vents to keep loose-fill material clear of the soffit area.
In unvented crawlspaces, cover the ground with a continuous vapor retarder (heavy polyethylene sheeting) with lapped and sealed joints. Extend the edges at least six inches up the stem walls.
For walls, the approach to vapor barriers depends on your climate. In heating-dominated climates, a vapor retarder on the warm side (interior) of the wall assembly is traditional. However, in mixed climates where moisture drives in both directions, some experts recommend avoiding interior vapor barriers entirely and relying on smart vapor retarders or Class III vapor retarders (like latex paint) that allow some drying in both directions.
Expert Tip: If you are adding insulation to an older home, check for existing knob-and-tube wiring in the walls and attic before insulating. The National Electric Code prohibits installing loose-fill, rolled, or foam insulation around knob-and-tube wiring because it can cause the wires to overheat. Have a licensed electrician evaluate the wiring first.
Some insulation projects are reasonable DIY jobs. Batts and rolls in accessible attic floors, where you can see and work around obstructions, fall into this category. But for anything involving blown-in material, spray foam, or enclosed wall cavities, professional installation is the right call. Spray foam in particular requires specialized equipment, certification, and careful attention to mixing ratios and application thickness.
Based on our experience in the Anchorage/Matsu Valley area, several factors influence insulation project costs. The primary driver is labor, followed by the size of the area being insulated. Here are the key variables:
If you cannot afford to insulate everything at once, follow the priority order discussed in Step 2. Addressing the attic first gives you the most impact for your investment. A well-insulated attic in a cold climate can reduce heat loss dramatically, and the energy savings start immediately.
Expert Tip: Federal tax credits can offset the cost of insulation upgrades. The DOE notes that insulation meeting the 2021 IECC requirements may qualify for a federal tax credit of up to 30% of the cost, not to exceed certain limits. Check current credit availability before budgeting your project.
A professional home energy audit is the best way to get a clear picture of your home’s insulation performance before and after upgrades. Auditors use tools like blower door tests (which measure air leakage) and infrared cameras (which reveal temperature differences in walls and ceilings) to identify exactly where heat is escaping and how much insulation you actually need.
After insulation is installed, verify the results. If you had a pre-installation audit, schedule a follow-up to compare the numbers. Check that the installed R-value matches what was specified. Look for gaps or thin spots, especially in attics where coverage should be uniform across the entire floor. Verify that attic vents are not blocked and that insulation has not been pushed into eaves or against recessed light fixtures.
Track your energy bills before and after the insulation upgrade, comparing similar months across years (January to January, not January to July). Most homeowners notice lower heating bills within the first full heating season after adding significant insulation, particularly in the attic.
After years of inspecting insulation projects, both our own and those done by others, we see the same errors repeated. Learning from these can save you money and frustration.
Skipping air sealing. This is the most common and most costly mistake. Insulating without sealing air leaks is like putting on a thick coat with the front zipper open. The warm air escapes through the gaps regardless of how much insulation surrounds them.
Compressing insulation. Stuffing R-19 batts into a 2×4 wall cavity rated for R-15 does not give you R-19. It gives you something closer to R-15 because compression reduces the material’s ability to trap air. Use the R-value rated for the cavity depth you actually have.
Blocking attic ventilation. Piling loose-fill insulation against soffit vents stops air from flowing through the attic, which can cause moisture buildup and ice dams. Always install baffles before blowing in insulation.
Using the wrong material for the application. Reflective insulation in a cold-climate attic wall does almost nothing. Fiberglass batts in a cathedral ceiling with no air barrier behind it can lead to condensation problems. Match the material to the application and climate.
Ignoring existing problems. Adding insulation over a roof leak, over knob-and-tube wiring, or into a wall assembly with known moisture issues will make those problems worse, not better. Fix structural and safety issues first.
Choosing the right insulation comes down to knowing your climate zone, assessing what you have, prioritizing the areas with the greatest heat loss, and selecting materials that match both the application and your performance goals. None of this is complicated on its own, but the details matter. The right R-value in the wrong location, or the best material installed poorly, will not deliver the efficiency you are paying for.
Start with an honest assessment of your home’s current insulation, using the step-by-step process outlined in this guide. Focus on the attic first, where the impact per dollar is greatest. Combine insulation with thorough air sealing, especially in the attic and around the rim joist. And if you are in a cold climate like ours in Alaska, do not cut corners on R-value. The difference between R-38 and R-60 in an attic may seem like a lot of material, but the energy savings over twenty years of winters more than justify the investment.
Keep this guide as a reference as you work through your insulation project. Each step builds on the previous one, and having the material comparisons and R-value targets at hand will help you make confident decisions at every stage.
Deciding on the right insulation involves a lot of variables, from your climate zone and existing conditions to material compatibility and installation challenges. If you would like professional guidance tailored to your specific home and situation, our team at Polyseal Insulation is here to help. We serve the Anchorage and Mat-Su Valley area and have years of experience matching insulation solutions to Alaska’s demanding climate. Reach us at [email protected] or call (907) 745-7325 to discuss your project.
Check your attic with a ruler or tape measure, look behind electrical outlet covers on exterior walls, and inspect under floors over unheated spaces. For a thorough assessment, a professional energy audit with infrared imaging provides the most accurate picture.
Batts and rolls in accessible attics are reasonable DIY projects. Blown-in insulation, spray foam, and enclosed wall cavity applications require professional equipment and expertise. Spray foam installation in particular demands certified installers and proper safety equipment.
Closed-cell foam is denser, offers roughly R-6 to R-7 per inch, acts as an air and moisture barrier, and adds structural strength. Open-cell foam is lighter, offers roughly R-3.5 to R-4 per inch, allows moisture vapor to pass through, and is less expensive per inch of thickness. Closed-cell is generally preferred in cold climates for its higher R-value and air-sealing properties.
Most insulation materials last the life of the building if installed correctly and kept dry. Fiberglass and mineral wool do not degrade or settle significantly. Cellulose can settle over time, reducing its effective R-value slightly. Spray foam, once cured, is stable for decades. The main risk to insulation longevity is moisture damage.
Yes. Heating and cooling account for 50 to 70% of residential energy use according to the DOE. Going from an uninsulated attic to R-60 in a cold climate can reduce heat loss through the roof dramatically, and most homeowners see lower heating bills within the first winter. The exact savings depend on your climate, existing insulation levels, and heating fuel type.
Not always. If the existing insulation is dry, clean, and in good condition, new insulation can be added on top. However, if the old insulation is wet, contaminated with mold or rodent debris, or compressed, it should be removed first. Adding new insulation over wet or damaged material traps the problem and can make it worse.