

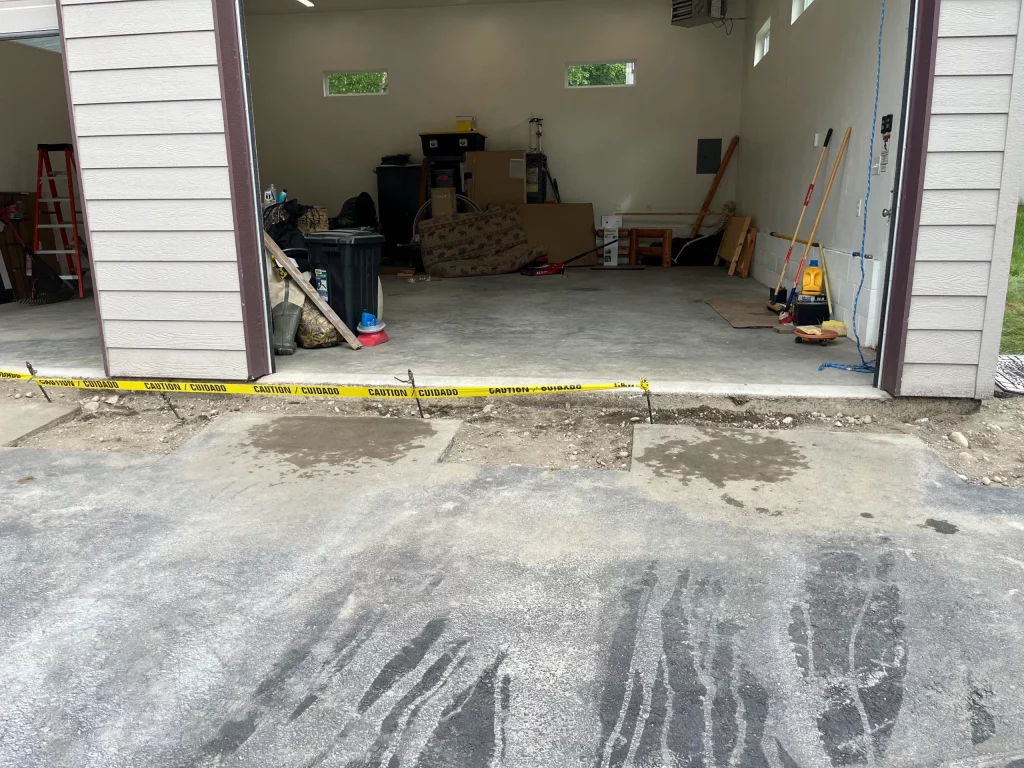
You walk out to get the mail and notice it again. The driveway slab has a step where it meets the garage floor. A sidewalk panel tips rainwater toward the foundation. A patio corner has dropped just enough to catch a boot toe. Sunken concrete is one of the most common problems property owners face, and it is also one of the most misunderstood. Many people assume the only fix is tearing the slab out and pouring a new one.
That is rarely true. Concrete lifting is the repair method built for this exact problem. Instead of demolishing a slab, a lifting crew drills a few small holes and pumps material beneath the concrete, raising it back to level from below. The slab stays in place, the mess shrinks dramatically, and the surface is usually ready to use again the same day.
We have spent years working underneath slabs in Alaska, where frost, meltwater, and soils that never sit still make settlement a year-round reality. This guide brings together what we have learned in the field, along with findings from published state transportation research, into one
Concrete lifting service is a repair procedure that corrects an uneven concrete surface by treating the foundation beneath it. In engineering terms it is called slabjacking or concrete leveling, and as an overview from Wikipedia’s concrete leveling entry explains, the process works by pumping a substance through the slab to push it up from below, which is far less disruptive than removal and replacement.
The core idea is simple once you see it. The slab itself is usually fine. Concrete is enormously strong when it is supported evenly. What failed is the ground underneath it. Water washed soil away, or soft soils compressed, or frost pushed material around. A void or a soft zone formed, and gravity did the rest. Lifting repair targets that gap, not the slab.
The method has a long track record. Accounts of raising slabs using hydraulic pressure date back to the early 20th century, when contractors mixed locally available soils, sometimes with crushed limestone or cement for strength, into a slurry. That muddy mixture gave the technique its most common nickname: mudjacking.
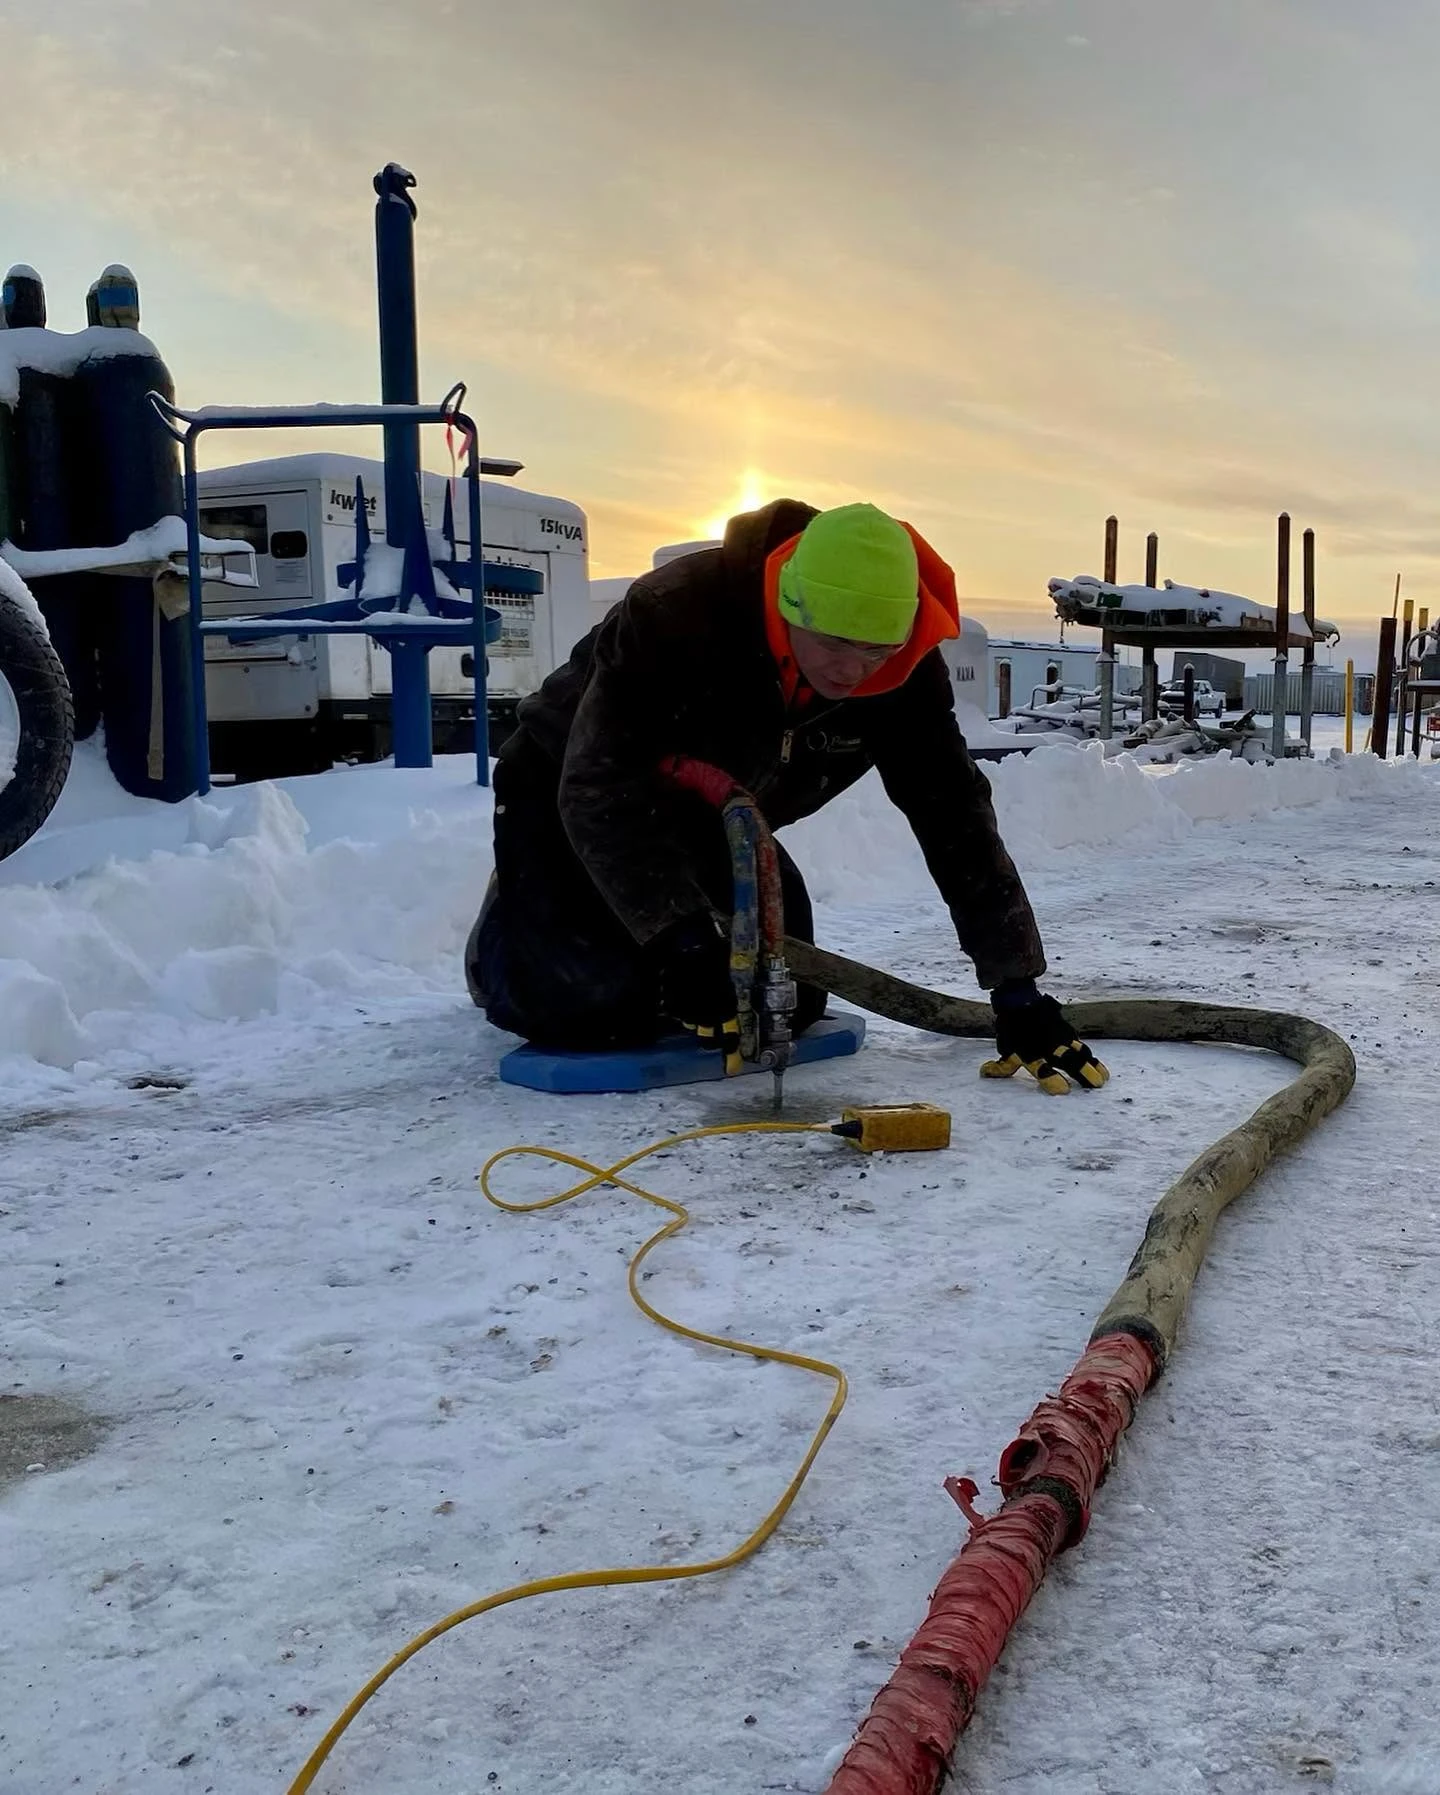
Every lifting method follows the same basic sequence. The crew drills strategically placed access holes through the slab, pumps material under it until the void fills, then uses continued pressure to raise the concrete back to its original position. Once the slab is level, the holes are patched. Hole sizes range anywhere from 3/8 of an inch up to 3 inches depending on the method, which matters more than most owners realize, because it affects how visible the repair is afterward and how much the slab is weakened during the work.
You cannot choose the right fix until you understand the cause. Slab settlement almost always traces back to the soil, and the same handful of culprits shows up again and again.
Moisture swings in the soil. Soil expands when it is wet and shrinks when it dries. As Wikipedia’s concrete leveling entry notes, this constant swelling and contracting through wet and dry seasons is the most common cause of slab settlement. Slabs slowly work their way down as the ground beneath them changes volume.
Erosion and poor drainage. Water is patient and persistent. Downspouts that dump beside a patio, grades that slope toward a walkway, and gutters that overflow in every storm all carry soil particles out from under the slab. Given enough seasons, the support is gone.
Uncompacted backfill. When a foundation trench or utility line is backfilled, that loose soil compresses over time even under ordinary conditions. Slabs poured over backfill, especially near basements, settle as the ground beneath them consolidates. Some slabs also sit over filled-in land that was never properly compacted to begin with.
Leaking pipes and utilities. Water moving under a slab can suspend soil particles, and anything pressing on the surface can pump those particles out, leaving a void. This is not just a homeowner problem. When Oregon DOT researchers investigated a settling bridge approach panel, they traced it to a leak in a 12-inch drainpipe. Water had loosened the soil, and traffic over the slab pumped the suspended particles away until a void developed, a mechanism the Oregon DOT report on injected polyurethane slab jacking describes in detail.
Tree roots. Roots are strong enough to lift a slab upward or break through it entirely, a problem that shows up often along streets and mature yards.
Frost and freeze-thaw. In Alaska, this one deserves special attention. Water trapped in soil freezes, expands, and forms ice lenses that heave slabs upward. When it melts, the support softens and the slab drops, often lower and less evenly than before. We see the damage cycle repeat every spring across the Mat-Su Valley and Anchorage, and any repair plan here has to account for it. Our guide to covers this in depth.
Key Takeaways
All lifting methods share the same goal, but the materials and equipment differ in ways that affect durability, appearance, and turnaround time. The three you will encounter are mudjacking, limestone slurry grout leveling, and polyurethane foam injection, sometimes called polyjacking. Our detailed comparison at breaks the trade-offs down further.
Mudjacking pumps a slurry of local soil or sand, water, and Portland cement beneath the slab through holes typically 1 to 2 inches in diameter. According to Wikipedia’s concrete leveling entry, the low injection pressure gives trained operators fine control over the lift, and the cured material can reach high compressive strength.
The strengths: it is budget-friendly, the low-pressure process is gentle on the slab, the material is accepted at concrete recycling facilities, and pump carts can reach spots farther from a truck.
The trade-offs: the mixture is heavy, which adds load to already-weak soil. The holes are the largest of the three methods. Cleanup takes longer, and because the slurry can break down in water, the settlement can eventually return if drainage is not corrected.
This method pumps pulverized limestone mixed with water, and sometimes cement, through 1-inch holes. The slurry has the consistency of a thick milkshake and pushes itself into voids before the pressure builds and lifts the slab. Once cured, it forms a hard, stone-like base under the concrete. Testing cited by Wikipedia’s concrete leveling entry shows compressive strength around 240 psi, which is substantial support for a walkable slab.
It shares mudjacking’s low-pressure control and budget advantages. Its limits: the slab generally needs to be within about 100 feet of the truck-mounted pump, and without enough cement in the mix, rainwater can erode the limestone over time and allow re-settlement.
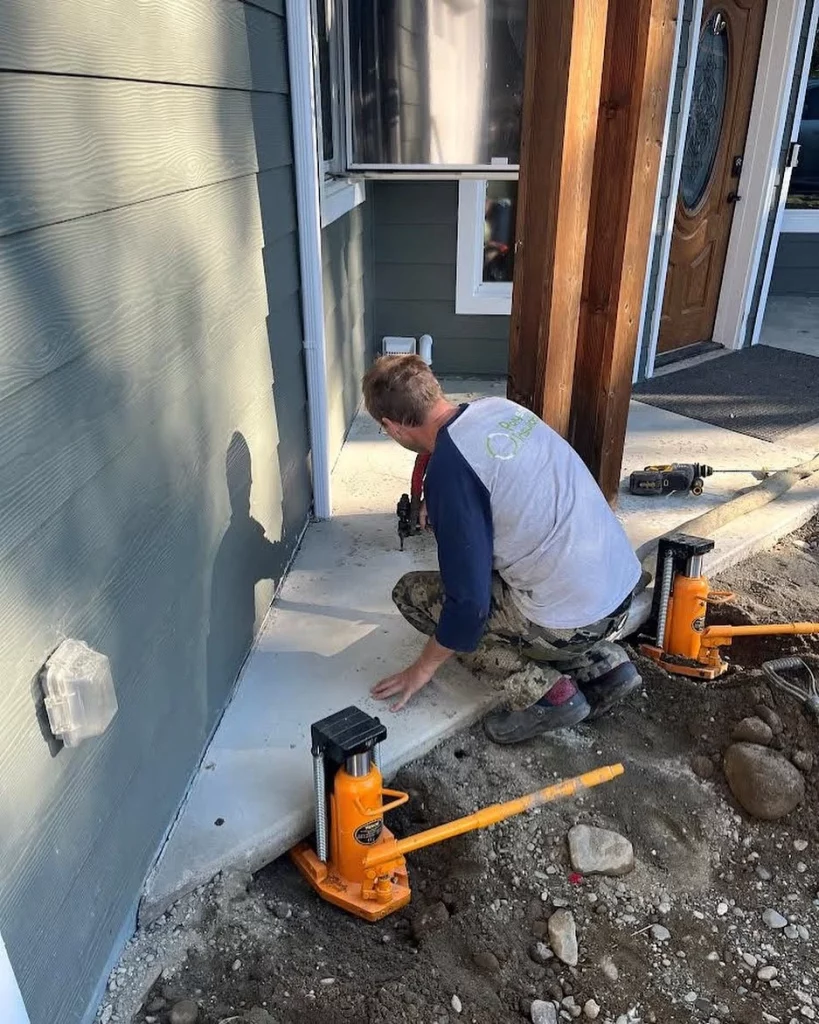
Foam lifting injects a two-part liquid polymer through holes smaller than one inch, commonly 5/8 of an inch. The liquids react underground and expand into a rigid, closed-cell foam, and the expansion is what lifts the slab. The Wisconsin DOT evaluation of polyurethane pavement lifting documents that the material expands to roughly 20 times its liquid volume, filling voids as it goes.
The research record on foam is strong. In the Oregon DOT study, injected foam reached 90 percent of its compressive strength within about 15 minutes, and core samples showed no measurable loss of strength after 23 months buried in the ground. The foam also flowed into openings as small as 1/4 inch, consolidating loose soil as it spread.
The advantages: tiny holes, minimal cleanup, a fraction of the weight of a cement slurry, and a closed-cell structure that sheds water instead of absorbing it. The trade-offs: it demands trained technicians who can control the reaction, it is a petroleum-based plastic rather than a natural mineral material, and uncured foam can permanently stick to and stain nearby surfaces if the crew is careless.
Expert Tip: Ask any foam contractor for the material’s data sheet, specifically its density and compressive strength when confined under a slab. Foam properties vary widely between products, and a contractor who installs structural foam professionally will have those numbers on hand.
| Factor | Mudjacking | Limestone Slurry Grout | Polyurethane Foam |
|---|---|---|---|
| Hole size | 1 to 2 inches | About 1 inch | 5/8 inch or less |
| Material weight | Heavy slurry | Heavy slurry | Lightweight foam, ~2 lb per cubic foot when free-rise |
| Water resistance | Can erode over time | Can erode without enough cement | Closed-cell, will not absorb water |
| Cure and return to use | Longer wait, slurry must set | Sets firm but takes time | Walkable within hours, 90% strength in ~15 minutes |
| Cleanup | Moderate to heavy | Moderate | Minimal |
| Best suited for | Budget projects, thick slabs | Slabs near truck access | Most residential and commercial lifts, tight access sites |
Lifting looks almost anticlimactic in person. A two- or three-person crew, a few small drills, hoses, and a pump. The value is in the sequence and the control, so here is exactly what a professional job involves.
Step 1: Evaluation and profiling. The crew measures how far the slab has dropped and where. On roadway projects, contractors set string lines and stations to track elevation, and Wisconsin DOT researchers recommend ground penetrating radar (GPR) before injection, because it maps voids under the slab and helps predict how much material the job truly needs. For a residential slab, expect a careful walk-through with a level or straightedge and questions about drainage, downspouts, and any buried utilities.
Step 2: Drilling. Access holes are drilled at calculated patterns. The pattern matters, because each injection point affects an area of slab around it, and spacing the holes correctly is how the crew lifts the panel evenly instead of teeter-tottering it.
Step 3: Injection. Material goes in slowly, hole by hole. On the Oregon DOT bridge project, two workers ran the injection together, controlling the rate of rise by the rate of injection, and repeated lifts through the same holes until the slab reached target. Multiple small lifts protect the slab far better than one fast shove.
Step 4: Monitoring. String lines, laser levels, or a straightedge verify the lift as it happens. Good crews stop and check constantly. The target is usually original grade or a smooth transition to adjacent panels, not perfection at any cost.
Step 5: Void filling. After the lift, additional holes are drilled in a wider pattern to fill remaining voids beneath the work area. This step is what keeps the slab supported between injection points.
Step 6: Patching and sealing. Holes are finished with a non-shrink cementitious grout, matched as closely as possible to the slab. This step is easy to skip on a busy day, and it matters. Oregon DOT inspectors found that injection holes left unsealed raveled and broke down after two years of traffic, while properly sealed holes showed no damage at all.
Most residential projects wrap up within a few hours, and the concrete is back in service the same day. Our project walkthrough at shows what this looks like for the most common home surfaces.
Expert Tip: Before you pay the final invoice, walk the slab with the crew lead. Check transitions with a straightedge, run water from a hose to confirm it flows away from structures, and confirm every hole was patched. Five minutes here prevents most callbacks.
Why lift instead of replace? For the right slab, the advantages stack up quickly.
Speed. Replacement takes days, from demolition to forming to pouring to curing, and the Wisconsin DOT study notes a replaced slab often needs several days before it carries traffic. Lifting is measured in hours, and as Wikipedia’s concrete leveling entry summarizes, lifted concrete is typically usable within hours rather than days.
A nearly invisible repair. Foam holes are the diameter of a pencil, grout holes about the size of a quarter. Compare that with a brand-new pour sitting next to 20-year-old concrete, where color and texture will never quite match.
Minimal disruption. The crew works on top of the slab. Flower beds, sprinkler lines, fences, and lawns stay untouched. There is no jackhammer soundtrack and no pile of broken concrete heading to a landfill, which is one of the environmental advantages the process is known for.
Real safety and liability protection. Uneven walkways are more than an eyesore. Under the U.S. Access Board’s guide to the ADA Standards, vertical changes in level along accessible routes are limited to 1/4 inch without treatment, and up to 1/2 inch only when beveled at a 1:2 slope. Anything taller than that must be ramped. For businesses, housing providers, and public-facing properties, a lifted slab is the difference between compliant and liable.
Proven performance at scale. This is not a backyard-only technique. State DOTs use it on highways and bridge approaches, where performance is measured and published. A Louisiana study reviewed in the Wisconsin DOT report found that lifting improved pavement smoothness, measured by the international roughness index, by 33 to 57 percent, with approach slabs still in good condition four years later and no new faulting.
Keeps the water out of the wrong places. A leveled slab that drains correctly protects the slab, the soil under it, and anything downhill, including your foundation.
Every project is priced individually, so instead of numbers, here are the factors that move a quote up or down. Understanding them will tell you more than any average ever could, and our walks through sample scenarios.
Square footage and panel count. More surface to stabilize means more holes, more material, and more time.
Depth of settlement and void size. This is the big one. The Wisconsin DOT study found that material use exceeded estimates by two to five times at its test sites, almost entirely because of large hidden voids that had to be filled before the slabs could lift. Foam projects are commonly priced by the volume of material installed, so a slab with a deep void under it costs more than a slightly tilted one. This is also why the same method can produce two very different invoices on two similar-looking driveways.
Material choice. Foam, limestone slurry, and traditional mudjacking carry different material costs, and each suits different slabs and budgets.
Access. A slab 200 feet from the nearest truck, behind a fence, or on a hillside changes the equipment plan. Foam rigs are the most portable, while slurry methods generally need the slab within about 100 feet of the pump truck.
Travel and logistics. In Alaska, distance from the shop is a real line item, and winter timing can affect scheduling.
What a good estimate includes. Look for a written scope that names the method, the hole pattern, how voids will be verified and filled, the patching material, and the cleanup. A one-line quote is a warning sign.
Key Takeaways
We lift concrete for a living, and we will still tell you when it is the wrong tool. Lifting is excellent, not magic, and the public research is refreshingly honest about its limits.
Cracked or deteriorated slabs may not qualify. Concrete must be in fairly sound condition to lift. If a slab is shattered into too many pieces, replacement is usually the honest recommendation, as Wikipedia’s concrete leveling entry points out.
Slabs sagging in the middle are poor candidates. The Wisconsin DOT study specifically recommends against lifting a slab that sags between its ends, because bending it can crack it and shorten its life. For that situation, replacement or an overlay is often the better call.
Lifting can create or open cracks. Raising a slab flexes it, and sometimes the flex wins. Wisconsin DOT researchers documented fine transverse cracks developing within six months at one test site and concluded the lifting process likely caused them. Oklahoma’s earlier trials saw cracking at several sites, including one slab that broke during injection. An experienced crew using slow, incremental lifts makes this far less likely, but no honest contractor will promise zero risk.
Minor resettlement is possible. Foam is dimensionally stable, the Oregon DOT study confirmed no strength loss after 23 months underground, yet the raised slabs themselves settled by up to about 0.4 inches over two years, with most movement in the first three months. The lesson the researchers drew applies to every method: slabjacking does not guarantee a permanently static slab, especially if the original water problem is still active.
Large open voids change the economics. Wisconsin DOT researchers recommended foam injection for lifting slabs, but not for filling big empty cavities underneath them, where the material volume required gets expensive fast.
Frozen ground pauses the work. Foam chemistry tolerates a wide temperature range once injected, but injection into frozen subgrade is limited. In Alaska, that makes late spring through early fall the practical lifting season. Plan ahead rather than waiting until the ground locks up.
Lifting does not fix causes. It corrects the symptom beautifully. If the downspout still dumps at the slab edge, the story repeats. Pair the lift with drainage work, covered in.
Expert Tip: Book lifting work for summer or early fall in cold climates. You want the slab done, holes cured, and joints sealed before the first hard freeze, and good crews’ calendars fill fast once the melt starts.
Method mattering less than the hands operating it is a truth every old technician knows. Two crews with identical equipment can produce very different outcomes, and the crack data from the DOT studies makes that plain: technique and experience are essential to a successful result. Use this checklist when you compare bids.
| What to Check | Why It Matters |
|---|---|
| Local, relevant experience | Crews familiar with regional soils and frost lift slabs without over-driving them |
| Method and material data | A pro can state hole size, material density, and compressive strength without looking them up |
| Void verification | GPR or thorough probing before injection prevents mid-job surprises and change orders |
| Lift technique | Slow, incremental lifts with string line or laser monitoring protect the slab from cracking |
| Hole sealing practice | Oregon DOT found sealed holes stayed intact for years while unsealed ones raveled |
| Warranty terms | Understand what is covered, for how long, and what voids it |
| Insurance and licensing | Protects you if something under the slab, like a buried line, is damaged |
| Written, detailed scope | Names the method, hole pattern, patch material, cleanup, and final elevations |
Our list of gives you the exact wording to use on the phone. And it is fair to ask any contractor, including us, to explain how their approach handles freeze-thaw soil movement. Anyone who has lifted slabs through an Alaska winter should be able to answer that one without hesitation.
The lift ends the settlement story only if you close the chapter on water. Here is the short-term and long-term care that keeps a lifted slab level.
Respect the cure window. Foam reaches most of its strength within minutes to hours, while slurry methods need longer before heavy loads. Follow your contractor’s specific guidance for foot and vehicle traffic.
Manage roof water. Extend downspouts so discharge lands well clear of the slab, and check them every fall. Water routed away from the slab edge is the single best settlement prevention there is.
Seal joints and cracks. Open joints are doorways for water. Sealing them keeps meltwater and rain from working back under the slab. Our covers products and timing.
Watch the transitions. Once a year, set a straightedge where panels meet. Catching a 1/8-inch change early means a tiny touch-up instead of a new project.
Think before you load. Dumpsters, delivery trucks, and hot tubs concentrate weight on slabs that were never designed for it. Keep heavy loads on prepared surfaces.
Commercial and municipal owners face the same physics at larger scale, and our overview of covers fleet-friendly scheduling and multi-panel projects.
Here is the whole guide in brief. Sunken concrete is a soil problem wearing a concrete costume, and water is behind most of it. Lifting restores the slab in hours through small holes, with mudjacking, limestone slurry, and polyurethane foam each fitting different slabs and budgets. The method works remarkably well but not universally, so cracked slabs and mid-slab sags deserve an honest replacement recommendation. Costs track square footage, void size, material, and access, which is why a detailed written scope beats a low headline number. And the repair lasts only as long as the drainage plan behind it.
Your next steps are simple. Walk your property and mark every transition that catches a straightedge, trace where your downspouts and grades send water, and collect two or three detailed quotes using the contractor checklist above. Keep this page bookmarked as you go. It was written to be the reference you return to at each step.
If you are looking at a sunken driveway, a tilting sidewalk, or a patio that pools after every rain, we are happy to take a look and tell you honestly whether lifting is the right fix. Our team at Polyseal Insulation handles concrete lifting across Anchorage and the Mat-Su Valley, and we are glad to answer questions even if you are still in the research stage. Reach us at [email protected] or (907) 745-7325, and we will help you sort out the next step.
Most residential jobs are finished in a few hours, including drilling, injection, and hole patching. Large or heavily voided projects take longer, but rarely require a second day.
Foam-lifted slabs are typically walkable the same day and reach 90 percent of their compressive strength within about 15 minutes of injection. Slurry methods need more cure time before vehicle traffic, so follow your contractor’s instructions.
Foam holes are about 5/8 of an inch and are patched with grout, leaving small dots most people never notice. Mudjacking and slurry holes run 1 to 2 inches and are more visible at first, though they blend over time.
Once cured, closed-cell foam is inert, will not mold or decay, and does not absorb water. Oregon DOT testing found no strength loss after 23 months of burial. It is a plastic material, so owners who prefer mineral-based materials may lean toward slurry methods.
No. Slabs with severe cracking, mid-slab sagging, or advanced deterioration are usually better candidates for replacement. A honest evaluation should tell you which category yours falls into.
A properly lifted slab with its water problem corrected generally stays put. Research shows minor resettlement is possible, especially in the first months, which is why drainage repair and joint sealing matter as much as the lift itself.